LPC4357 Tutorials
In this series of tutorials we will study the LPC4357 microcontroller, we will learn how to configure and use its on-chip peripheral.
But first let's take a look at the LPCXpresso IDE. This IDE is specifically designed for NXP’s LPC microcontrollers. It is based on Eclipse and GCC compiler. The free edition supports code sizes up to 256K.
You can download the LPCXpresso IDE from the lpcware web site. For the time of this writing the most recent version of the LPCXpresso IDE is 7.6.2.
All succeeding examples will be run on LPC4357-DB1 development board. This board is ideal for our purposes. In the basic configuration most pins of the microcontroller are available on the side connectors and we can connect any peripheral devices to these pins. For more complex examples, we will use the extension boards specially designed for this demoboard.
We will use the LPC-Link2 adapter to download and debug our examples. This debug adapter is recommended by NXP and it seamlessly integrates with the LPCXpresso IDE.
LPCXpresso IDE - Installation and Activation
Let’s start our tutorial with installation of the LPCXpress IDE. By default the IDE is installed into C:\nxp\LPCXpresso_7.6.2_326.
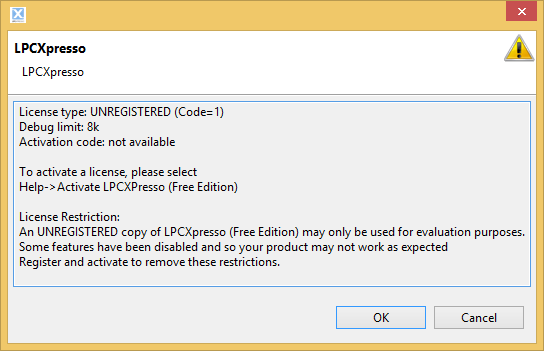
After the installation we run the LPCXpresso IDE. You will be asked to activate the environment. The activation is free and after the activation you will be able to debug projects with code sizes up to 256K, and develop projects both for private and commercial purposes. The LPCXpresso IDE can also be upgraded to unlimited code size by purchasing a Pro Edition license.
The activation consists of two stages:
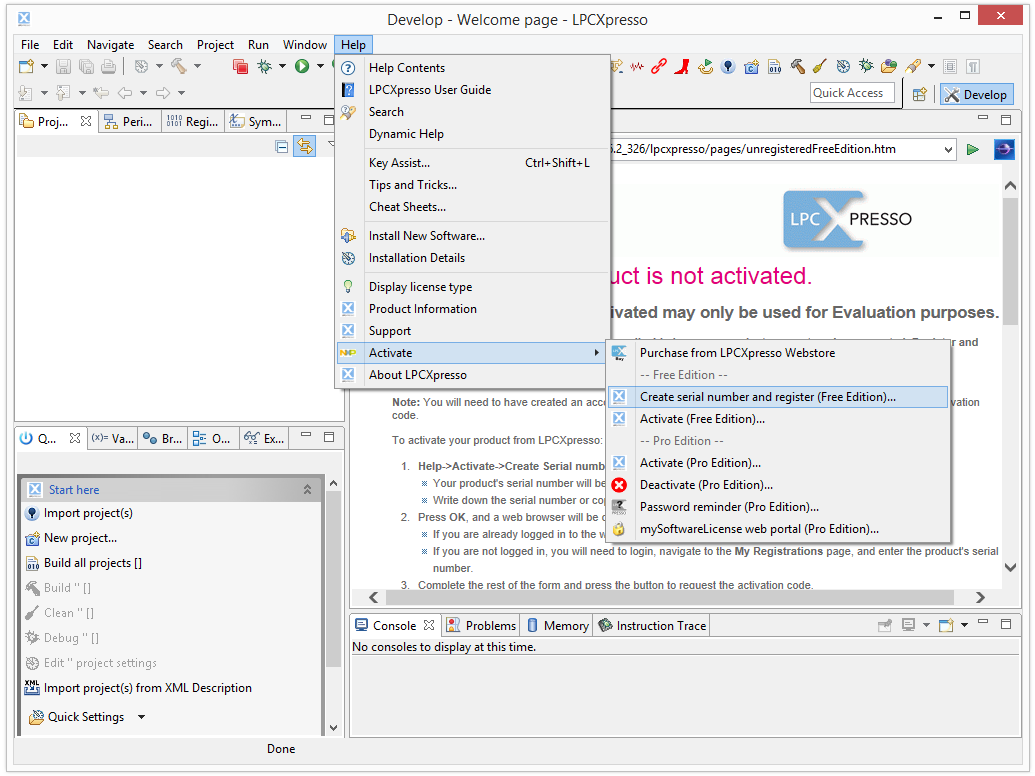
On the panel menu click Help -> select Activate -> click Create serial number and register (Free Edition) to generate a serial number.

Click OK to visit the registration website (lpcware.com), where you can generate an activation code for this serial number. You may need to register on lpcware.com.

Next, click Help on the panel menu -> select Activate -> click Activate (Free Edition) to open the window and enter the activation code generated at lpcware.com.
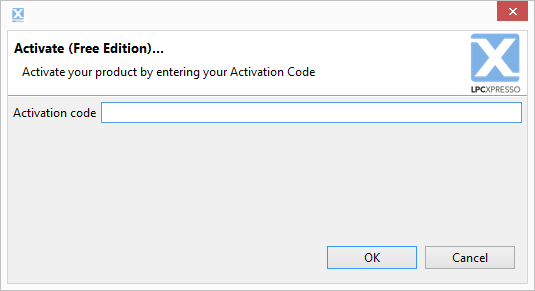
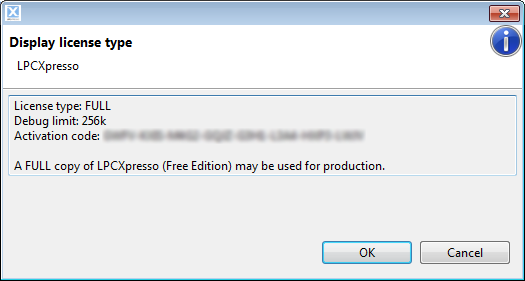
After entering the code the IDE restarts and we can proceed to its study.
Now let’s create a New Project.
Click “New project…” either on Toolbard or Quickstart panel. Then select LPC43xx (Cortex-M4 basic) -> select C Project and click “Next”.

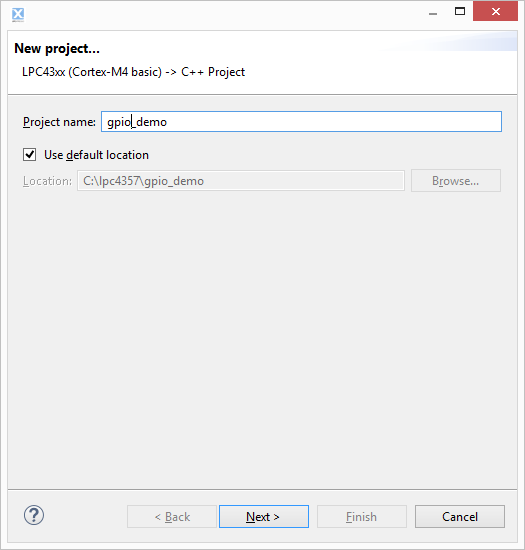
Then specify the name of project (and change its location, if it is necessary). I called this project gpio_demo, as in one of the following lessons we will start studying the LPC4357 microcontroller with the possibilities of its GPIO module.
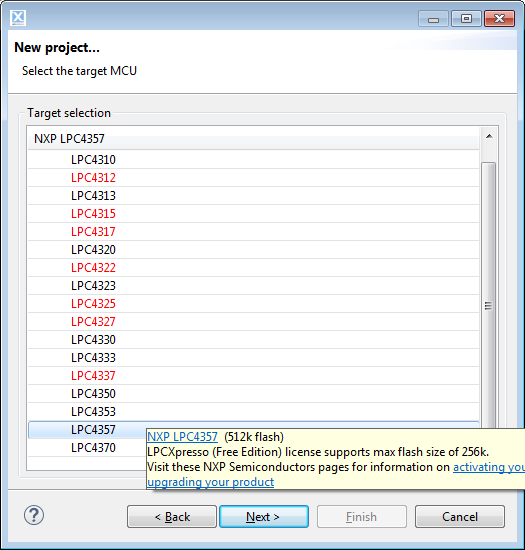
As we will use the LPC4357-DB1 debug board for our example, we need to select the appropriate processor (LPC4357).
Next, you need to add the CMSIS Core library to the project. Since it is our first project, there is no library and we need to import it.
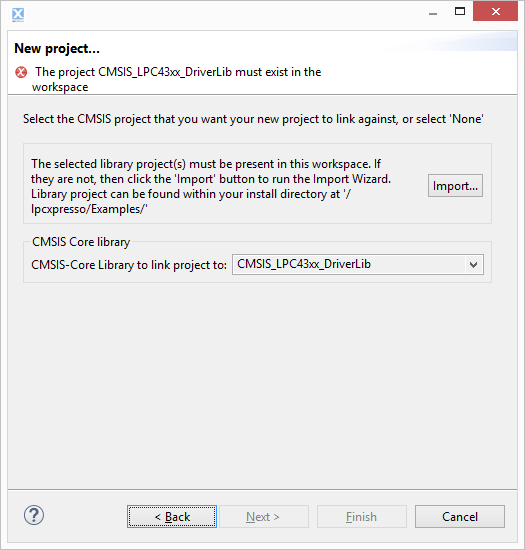
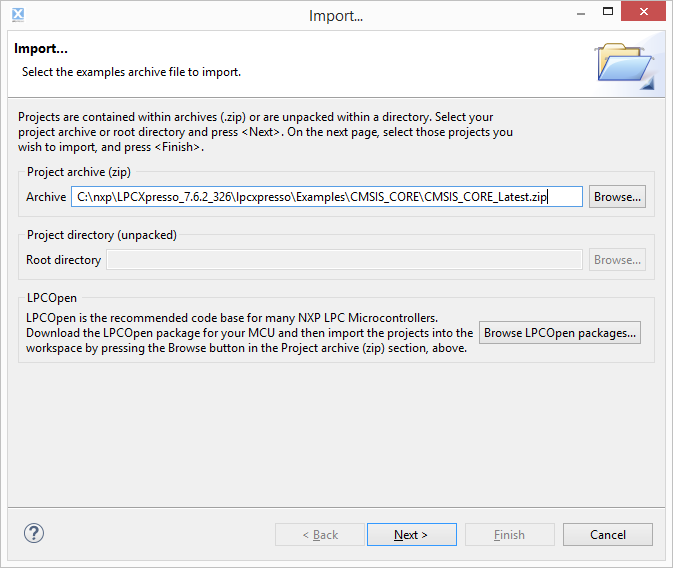
Click the "Import" button to locate the archive. If the LPCXpresso IDE is installed in the default directory, the file will be located at: C:\nxp\LPCXpresso_7.6.2_326\ lpcxpresso\ Examples\ CMSIS_CORE\ CMSIS_CORE_Latest.zip. Click Next.
In the next window, uncheck all, except for LPC43xx and click the “Finish” button.
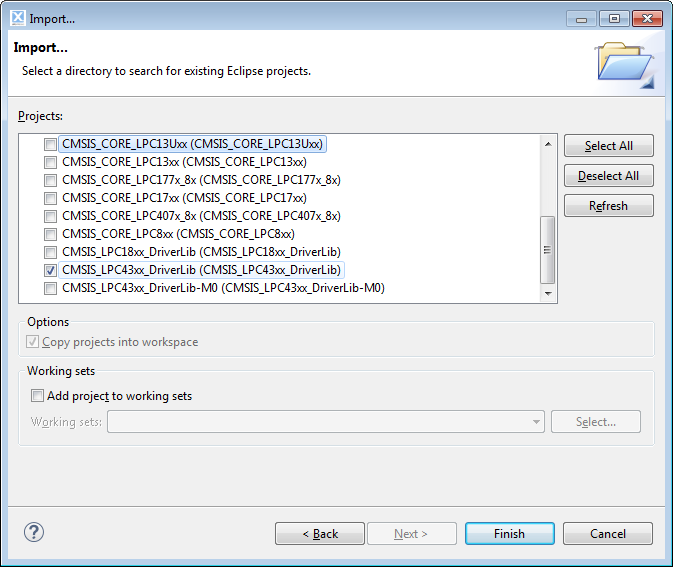
Go back to the "CMSIS Library Project Selection" window. In the background in the Project Explorer the CMSIS_LPC43xx_DriverLib project should appear. Click "Next" button (you may need to select combobox CMSIS CORE Library again).
DSP library is not required now, leave "None" and click "Next". Similarly, do not change and FPU (Enabled_SoftABI) in the next window. You don’t have to change the other settings of the project, although the protection code (Code Read Protection) in the examples might not be necessary, just "No Protection" value will be used.
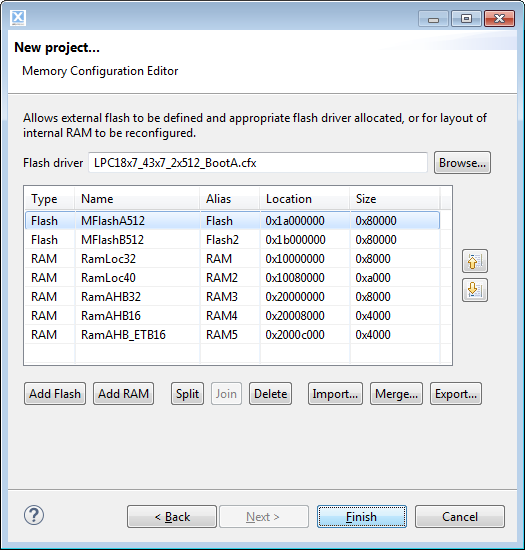
You will be offered to change the memory card in the last window. This is not necessary, click the "Finish" button.
That’s all. We have created two projects (CMSIS library and our gpio_demo). You can click "Build All Projects".

The compilation will take long for the first time because the library will be built. Projects will be created without errors.
The project created in this tutorial can be downloaded from https://github.com/diolan/lpc4357. I will also place the sources of all subsequent lessons on GitHub.
In the next lesson we will study the board, on the basis of which all lessons will be carried out. Also, we will study the initialization of the processor (PLL) and the use of GPIO module for driving LEDs and button reading, connection and setting the debugger to test the program in the hardware.